Showing posts with label doll Amy. Show all posts

Friday, 11 December 2015

55. Amy and the children or We come to a close of "Puppenmitmacherei" project


As we are drawing to a close of making dolls together in the event "Puppenmitmacherei",
a project organised by Maria from "Mariengold" and Caroline from "Naturkinder", 
I am inviting you to my final day. 


Last Wednesday the wether was bad in Wrocław. It was cloudy and rainy. 
Nevertheless neither me nor Amy paid attention to it, because we were occupied with preparations for an appointment we had on that day. So exciting!  We were invited by Mrs. Ola Węgrzyn to visit children in her small Waldorf nursery school called "Słoneczko".

When we came children already waited for Amy. They were really curious to get to know her and to learn what she was like. We started taking about Amy, about how she would love to be with children and play with them.


They immediately became fond of Amy. I took a few photos and decided to look and listen.
From the beginning Amy's clothes seemed were important. The children glanced at them willingly and then started experimenting with them. So they took them off  first, and then they redressed Amy. 

They soon discovered Amy was lovely to touch. They hugged her, held her hands, stroked her hair... and they talked a lot. One girl wanted to be Amy's Mum, another one her dad, and an aunt, and so on.

Then they had an idea to put Amy to bed. But first they wanted to put on her bootees. They examined them carefully. They really liked them. While Rose put on the bootees, another girl held Amy's head. Did you notice how delicate and careful she was?..
Then Amy went to sleep.
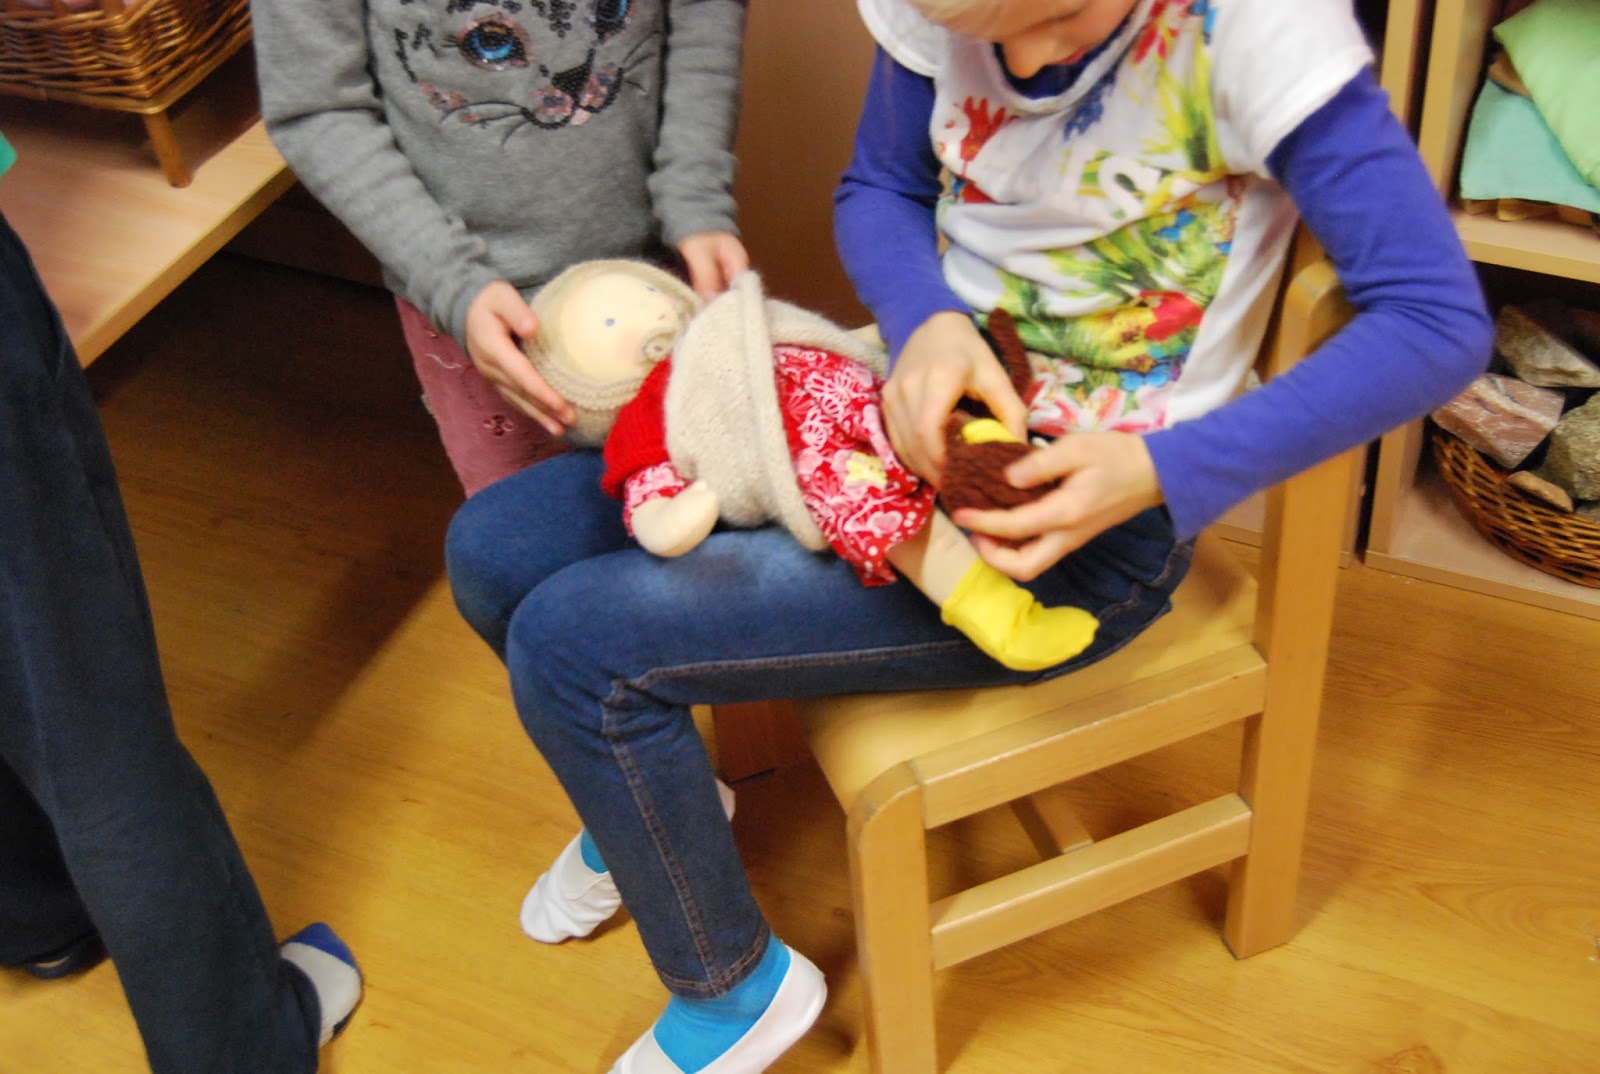


No, no. Before Amy fell asleep she wanted to have her hands lying on the quilt, 
not under it. 
So the children did, as she wished."Are you all rigth now?".. - they asked.


Amy's bed was placed in the play corner and Amy could sleep.
Her "Mummies" stayed with her stroking her cheek and singing her a little song...


After a little while Amy woke up.


It was then that I took this photo of Amy with the children and Ola.


As you may expect Amy stayed with the children.
The next day Ola emailed me, "Amy united the whole kindergarten in a big family: there was Mum, Dad, sisters and brothers, cousins and all possible folks."She added: "For a long time I haven't seen such a good and peaceable play of all children." I was proud of Amy. Well, well such a little cloth doll, I thought, and she evoke so many good feelings in children - liking, sympathy, care, joy.
Yes, children love cloth dolls.

In the end I would like to thank Ola for the invitation. Thanks to her kindness I spent a lovely afternoon with the children from her kindergarten. 

I do not worry about Amy any more. She has met a big loving family. Is there anything else that such a little doll could dream about?

*

It is a bit sad that the project "Puppenmitmacherei" is about to finish and that this is my last post dedicated to it, but on the other hand I am glad I have met a lot of new dollmakers.

I would like to thank Maria from "Mariengold" and Caro from "Naturkinder" for the idea and organisation of the project, for their advice and lots of tips on how to make dolls. 

I would like to thank all participants in the project. Beautiful dolls were created and wonderful stories written. On their blogs you can find plenty of interesting comments and reflections devoted to doll making.


And above all my special "thank you" to my lovely readers.

Sometimes my posts were delayed, so I am really grateful you waited patiently.


I wish you all a lovely weekend.


For the last time here you will find all participants' blogs (Scroll down to the end of page please.)


Wednesday, 25 November 2015

54. "The doll's wardrobe" or a delayed Day 5 in "Puppenmitmacherei" project


It snowed yesterday morning for the first time this autumn. For a short while we had lovely white fresh snow which sadly melted away quickly. It seems winter is slowly approaching.

So I am glad my doll already has clothes.


Not only has she clothes, she has also her name. I could say "at last!", because as a matter of fact I do not like talking about my dolls namelessly. Usually when I make a doll, her name pops up together with the doll herself. 

Obviously it was different this time, since I  concentrated more on the construction,
technique and viewing blogs of the colleagues participating in the project.
However at times I pondered on the name of my doll who was slowly taking shape. It seemed to me that she downright required more than just calling her "doll" or "dolly"...


And I called her Amy. 

I can see that Amelia enjoys coloured clothes, above all red and yellow as her favourites. It appeals to me, especially that she likes yellow reminding of the sunny summer.


Do you agree with me that Amy looks like a little child in appearance? 

I will try to accentuate this in her clothes. 


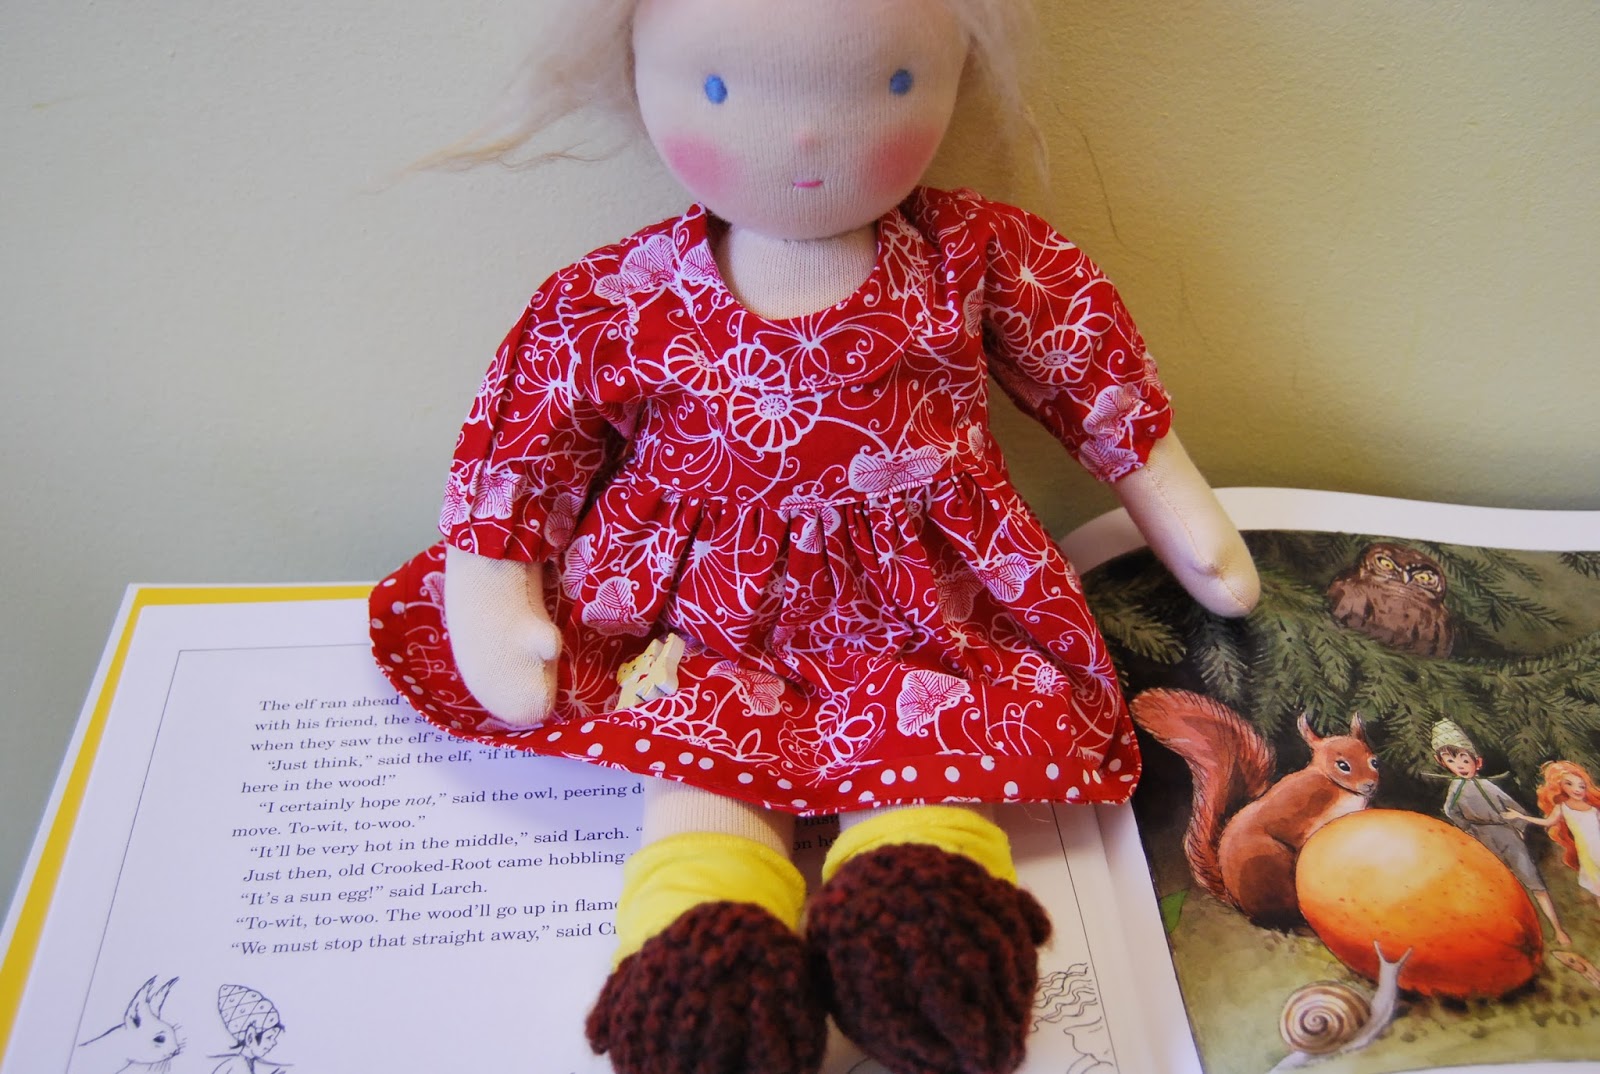
First I made her a cotton dress in her favourite colour (red, of course). Then I hand knitted warm bootees from wool in a shade of brown and red. In addition I made lovely socks from cotton jersey in the colour of the hot summer sun. When I dressed  her Amy looked really happy.

Later I found some red wool just to knit Amy's cardigan and from light alpaca I knitted a sweet bonnet and a big warm shawl. I do hope Amy will gladly wear it when the weather changes and winter comes.


Sometimes Amy sits on the book and watches illustrations, especially those with children. 
It seems she would love to play with them.

Here she is admiring "The sun egg" by Else Beskow.


Well, the project is about to finish soon and I am curious to know what will happen to Amy and what she will be doing in the future.


Hope you have a good week!

I am inviting you to our last project meeting in December.


And here is a link to our network of all participants. (Please scroll down to the end of post.)

More information about the project you will find here.


Wednesday, 7 October 2015

53. "Puppenmimacherei" - Days 3 and 4 of our monthly online meetings


Dear readers,
I am really happy to be back after a long break to go on with my contribution to the online project called "Puppenmitmacherei".
In September I was on holidays, but before I left I had had too many things to do and I simply had no time to be ready with my doll for the project although I promised you that I would sew my doll for the meeting in September.... 

My holiday time in the south of Istria. Late summer - how I love this time of the year.


And now I am inviting you to Days 3 and 4 of our making dolls together in the project "Puppenmitmacherei" organised by Mariengold and Naturkinder. (More about the project you will find here.)

I had to make the following: construct the doll's head and stuff the doll's limbs, decide on the doll's look, especially her face; crochet the doll's wig and then assemble all these elements, sew the doll and make the doll finished.


My doll has turned out to be a rather small simple Waldorf doll. I agree with Fig&Me that it is most important in a Waldorf doll that the doll's head resembles the shape of a human head. It is acquired by rolling strips of sheep wool to create a ball in your hands. Then the head is sculpted with thread and often with needle.


You can find plenty of doll makers writing about it on their blogs. I particularly like the post about Waldorf dollmaking by mentioned above Fig&Me and the reflections by Kukalka  who even says that "constructing the doll's head has almost meditative meaning for her".


In the photos below my doll is beginning to take shape.


Having the doll's head formed I began to look at her pondering what her face would look like. I did her little nose; almost invisible, but still well seen in profile. The doll's facial features were embroidered with floss. In my opinion her blue eyes  and rose-pink mouth would well harmonize with her light shade of skin. For her skin I used a cotton fabric I bought at Lalinda some time ago. Although I prefer darker nuances I made very light hair using DollyMo Brushable Mohair. I crocheted a wig using a crochet hook 2,5 mm following a special technique by Juliane from Froken Skicklig. The hair made in this way is very delicate and soft and it has a very natural touch. Once the wig was finished I sewed it thoroughly to the head.

I stuffed the legs and arms and partially the body, and then I attached the head to the body and sewed the arms to the body. I also added some details to the finished doll such as dimples to mark knees and elbows. Finally I coloured the doll's face to make it more expressive by colourind delicately her cheeks with wax crayon. In the same way I coloured slightly her knees and elbows They look as if she scraped them in the garden. On reflection I also coloured the tip of her nose making it look a bit frozen as if from playing outdoors.


Yes, but what if she is actually cold because it is autumn already and it gets chilly.  Well, I must dress her quickly I thought. For the moment I will dress her in this little bootee and a sock and wrap her up in a little blanket. That 's much better, isn't it? 

"Yes, I am warmer now, thank you." - suddenly I heard.


I wish you a nice week!

See you in November when we make little clothes.


And here is a link where you can view other colleagues participating in the project.


Wednesday, 5 August 2015

52. "Puppenmitmacherei" - 2nd online Meeting: Preparations


Welcome to the Second Day of making dolls together in an online event "Puppenmitmacherei". Today I will show you the patterns I have prepared and then I will sew individual doll parts I am going to work on in the upcoming meetings. However before I do this let me look in on Maria's blog (Mariengold) who together with Caroline (Naturkinder) have organised Puppenmitmacherei.

http://www.mariengold.net/puppenmitmacherei-vorbereitungen-2/

What does Maria write about? She recapitulates our previous work and accurately specifies our second meeting tasks. That is, we already know what we want to sew. We know more or less what our doll will look like. We have our patterns ready or make modifications we talked about before. Now we can lay the tricot that will be used for the doll body and put the patterns on, mark the contours of the patterns, cut them out and sew the doll parts by sewing machine or by hand. Simple, isn't it? It looks so, but I am sure all of us know how important all these elements are. I like the straight and systematic way Maria presents successive steps of creating a doll. In addition she gives lots of useful tips and practical suggestions. It is worth reading.


My doll will be rather small.
Asuuming she will be 36 cm tall I have prepared patterns accordingly. On Day 1 I thought of a different pattern, but eventually I decided on a classic pattern with such proportions where the doll head is one fourth of the whole height of the doll. I used a typical Waldorf doll pattern with a body and legs as one piece. When I prepare a particular pattern I usually make some small changes. This time I too modified the pattern a bit. I think I slightly slimmed the legs and subtly changed the shape of the body. Much more attention I paid to the arms. I wanted them to be bent more than the hands of my previous dolls. That is how I visualized it. I made a new arm pattern I would test in our upcoming meeting.

My Waldorf style Dolls - Puppenmitmacherei.2
The doll pattern

I sewed the doll parts by sewing machine (applying a double simple elastic stitch) with the use of a strong polyster sewing thread. The contours of the patterns were marked with the use of a plain pencil and air-erasable pen.


My Waldorf style Dolls - Puppenmitmacherei.2
Here I have the doll body sewn... Now I will be sewing the arms.

Now that I have the doll parts sewn and ready I will put them aside for a while, because now I am going to work on the doll head, For me it is the most interesting step in the process of creating a doll. And this will be one of the topics in our next meeting. 
So far I have always begun making a doll with the forming of the doll head. In this project we have started with the making of the body and limbs first which is quite new for me. Well, I enjoy this project and I am glad I will try some new approaches and methods. I must remember however and check if the head of my planned doll will not exceed 9 cm in diameter!
At this stage you can view my doll in the photo below. She looks like that.

My Waldorf style Dolls - Puppenmitmacherei.2
The doll parts are sewn and ready to be stuffed.


Have a lot of fun.

I will see you on September 2 (our third meeting), when my doll will be ready!


And now I am leaving to visit my colleagues. I wonder what they are writing about and what their dolls look like.
Here is a link to all participants of our second meeting.


Related Posts Plugin for WordPress, Blogger...